THE LATEST
SPOTLIGHT
- The Mission Darkness Recon Faraday Drone Protect
- 6 Mindset Shifts That Have Modified My Life for the Higher | Wit & Delight
- DJI’s Hyperlinks to Human Rights Abuses in East Turkistan – sUAS Information – The Enterprise of Drones
- All the things You Want To Know About Stretching
- Did You Know There are Advantages to Simply 5 Minutes of Train?
IN THIS WEEK’S ISSUE
-
The Mission Darkness Recon Faraday Drone Protect

The Mission Darkness Recon Faraday Drone Protect is a specialised faraday bag…
-
6 Mindset Shifts That Have Modified My Life for the Higher | Wit & Delight
6 Mindset Shifts That Have Modified My Life for the Higher |…
-
DJI’s Hyperlinks to Human Rights Abuses in East Turkistan – sUAS Information – The Enterprise of Drones
A Uyghur Human Rights Venture briefing by Nuzigum Setiwaldi, the third in a UHRP…
-
All the things You Want To Know About Stretching
Earlier than the early 2000s, stretching was thought of an important a…
-
Did You Know There are Advantages to Simply 5 Minutes of Train?
If you happen to wrestle to seek out the time to train,…
-
Cali misplaced 60 kilos | Black Weight Loss Success
Transformation of the Day: Cali misplaced 60 kilos. She was an IG…
-
How Lengthy Can You Maintain Ham within the Fridge?
Ham is a flexible ingredient that may be the star of a…
-
The Vibrant Shade Palette of Spring Summer time 24
As spring blooms and the style world undergoes its annual metamorphosis, the…
-
Easy Good Chili Ree Drummond
Printed: Mar 5, 2024 by Jenna · This publish could include affiliate…
-
Weekend Studying 3.3.24 | Centsational Type
Woah it’s March already! Spring is on its manner which I’m so…
-
10 Botanical Frames in Black and White – Why on Earth Would You Do It?
Inexperienced is my favorite color by margin, and it’s in all probability…
-
Karma to supply up to date Revero hybrid alongside new EVs
California’s Karma Automotive is gearing as much as launch a pair of…
THE MAGAZINE
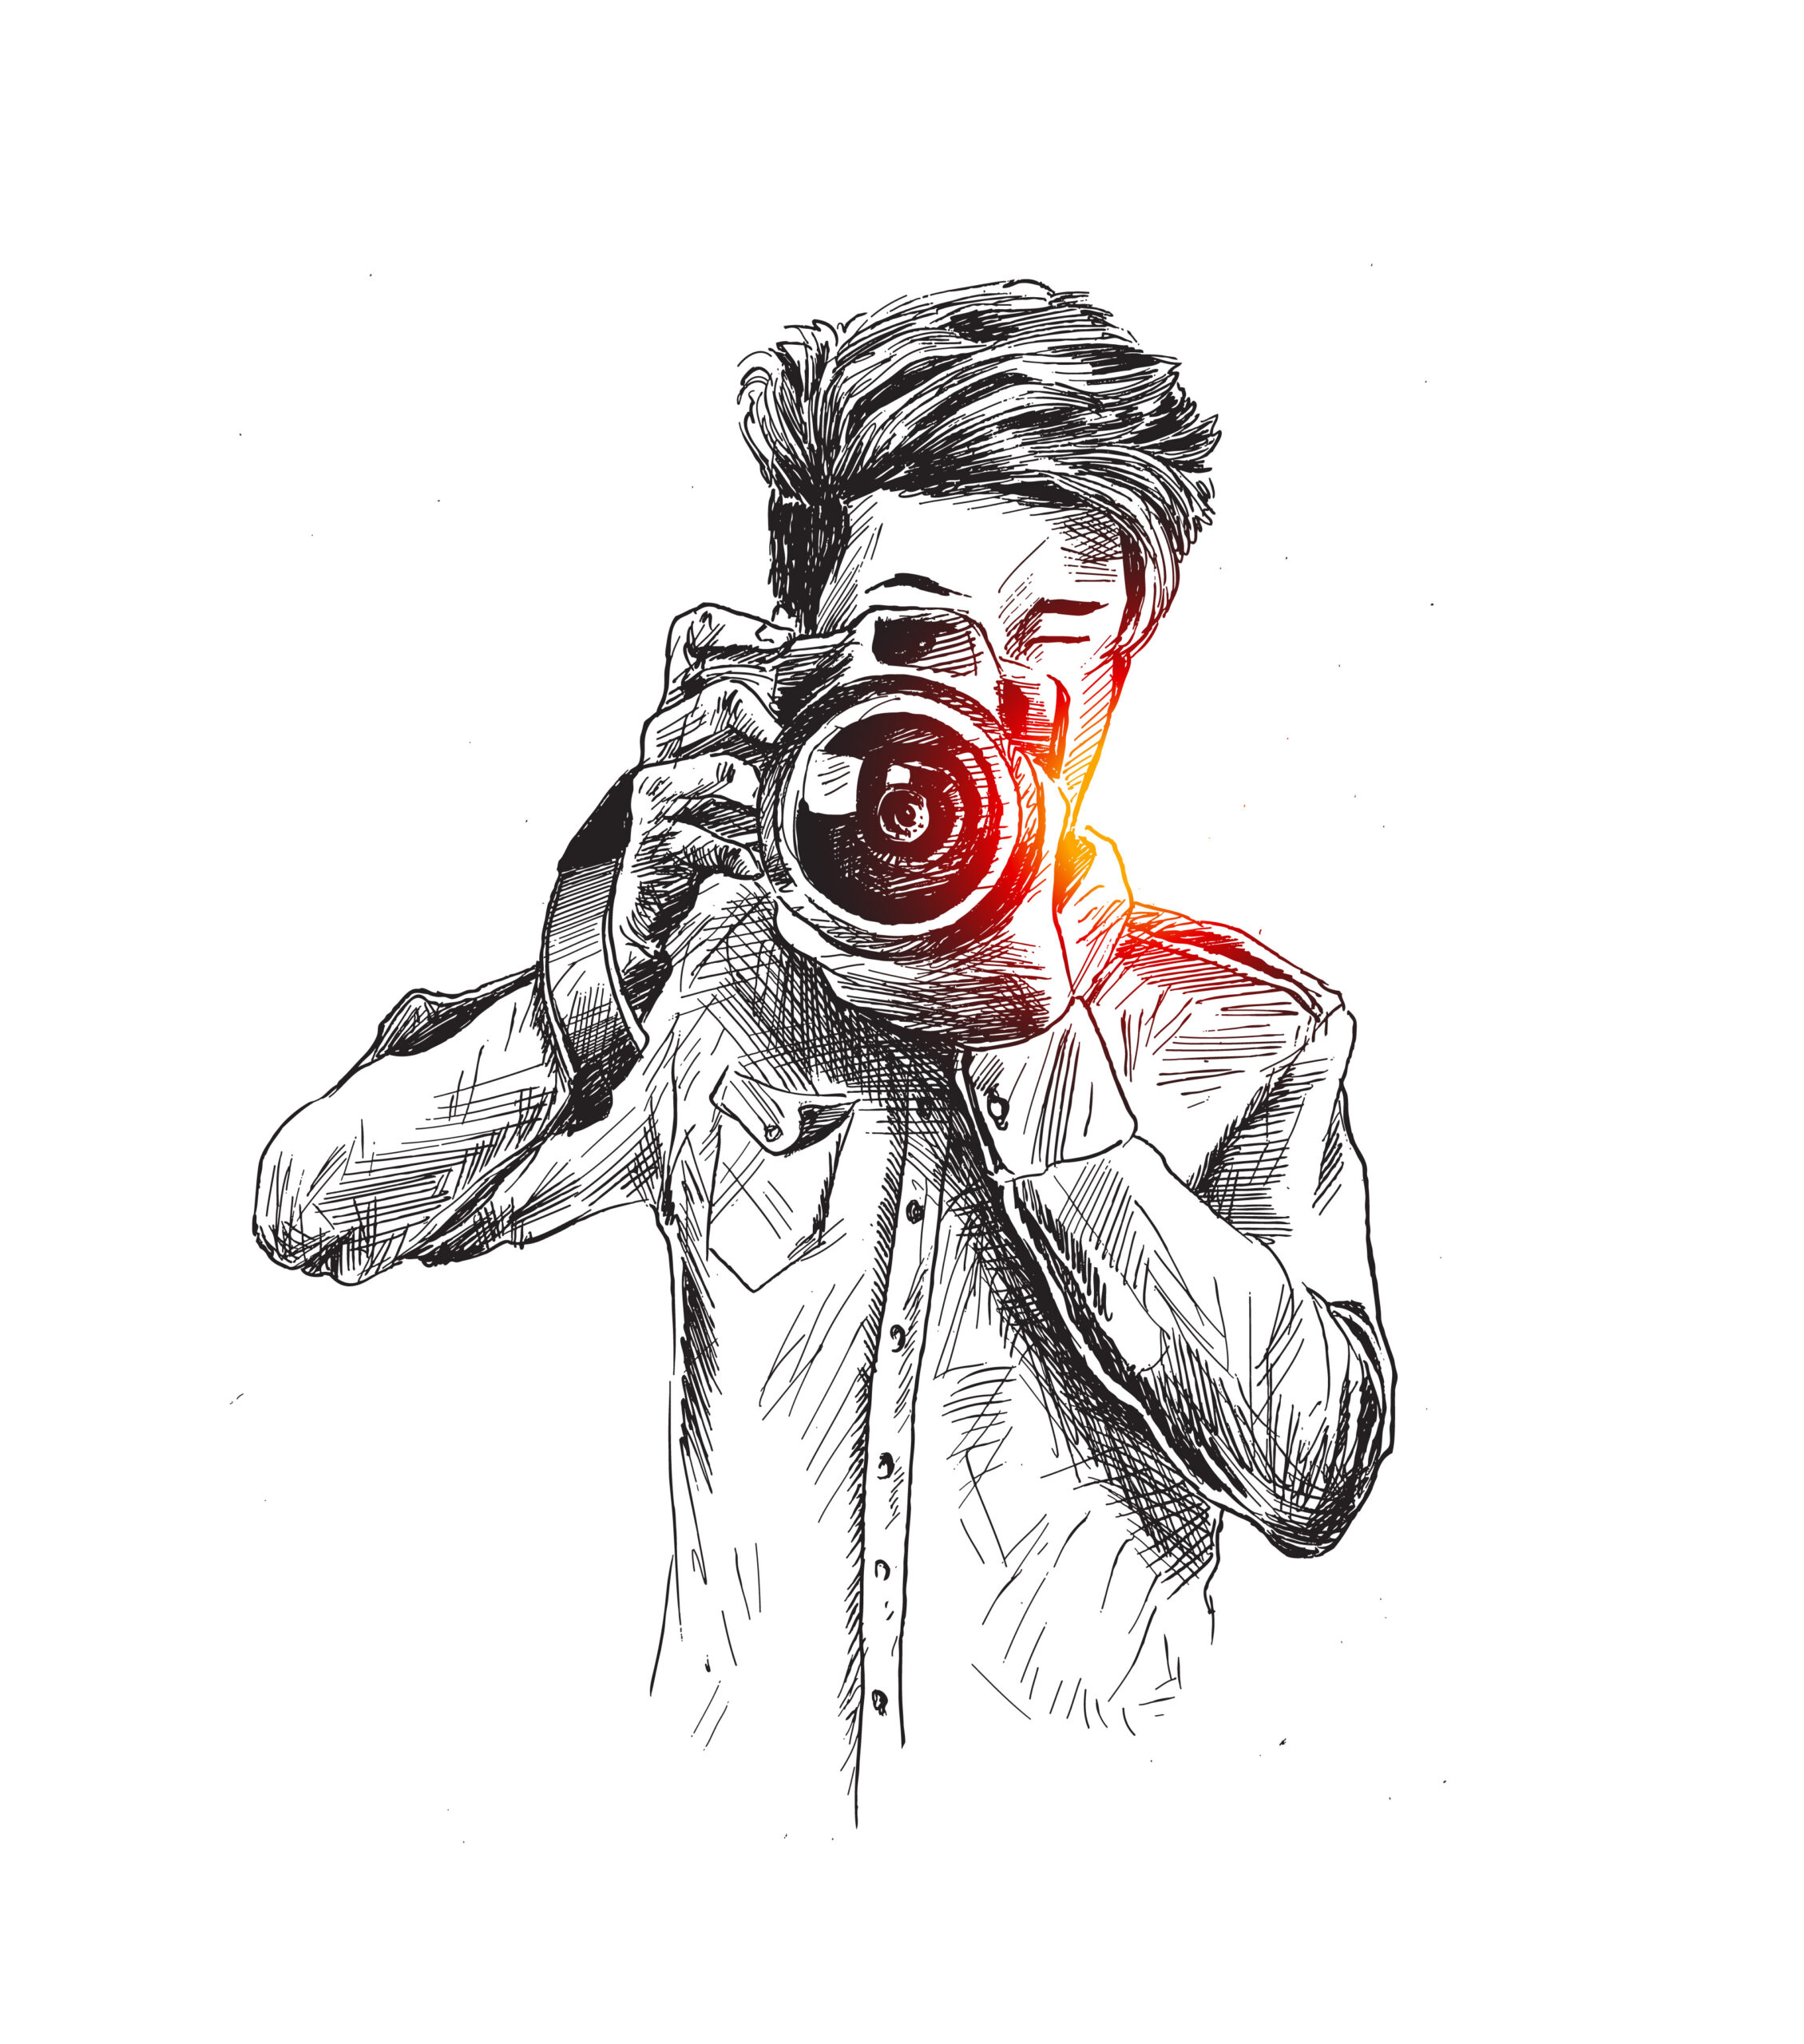
Fashion Photography
Camera News
-
Camera News
The Mission Darkness Recon Faraday Drone Protect
The Mission Darkness Recon Faraday Drone Protect is a specialised faraday bag that was particularly designed to successfully protect drones…
Read More » -
-
-
Wedding Photography
Photography News
-
Photography
Eye-Catching Portraits and Photographs of the Week for March 4
Composition can usually be aided through the use of architectural frames. By framing the topic with foreground components, the attention…
Read More » -
-
-
AROUND THE WORLD
-
The Mission Darkness Recon Faraday Drone Protect
The Mission Darkness Recon Faraday Drone Protect is a specialised faraday bag…
-
6 Mindset Shifts That Have Modified My Life for the Higher | Wit & Delight
6 Mindset Shifts That Have Modified My Life for the Higher |…
-
DJI’s Hyperlinks to Human Rights Abuses in East Turkistan – sUAS Information – The Enterprise of Drones
A Uyghur Human Rights Venture briefing by Nuzigum Setiwaldi, the third in a UHRP…
-
All the things You Want To Know About Stretching
Earlier than the early 2000s, stretching was thought of an important a…
-
Did You Know There are Advantages to Simply 5 Minutes of Train?
If you happen to wrestle to seek out the time to train,…
-
Cali misplaced 60 kilos | Black Weight Loss Success
Transformation of the Day: Cali misplaced 60 kilos. She was an IG…
-
How Lengthy Can You Maintain Ham within the Fridge?
Ham is a flexible ingredient that may be the star of a…
-
The Vibrant Shade Palette of Spring Summer time 24
As spring blooms and the style world undergoes its annual metamorphosis, the…
-
Easy Good Chili Ree Drummond
Printed: Mar 5, 2024 by Jenna · This publish could include affiliate…